Menu

Sunday, May 17, 2015

Pithala or Jhunka Bhakri


Pithala or Jhunka Bhakri or Besan with Jawar Roti, a dish belongs to Maharashtra state.....love love love it!!! 

This finger licking dish makes a perfect dinner option. Jhunka goes well with phulka or plain moong dal khichdi, or famously eaten with bhakri i.e. jawar roti .Can be put together in no time :) 

Ingredients (for Pithala or Jhunka) 

  • 1 cup Chickpea flour
  • 1 onion
  • 1 tomato
  • 5 to 6 garlic cloves 
  • 1 cup spinach (optional)
  • 1 tsp red chili powder
  • 1/4 tsp turmeric powder
  • 1 tsp salt or as per taste
  • 1 tsp coriander powder
  • 1/2 tsp mustard seeds 
  • Pinch of Hing
  • 2 1/2 cups of hot water
  • 4 tbsp oil
Ingredients (for Bhakri or Jawar Roti)
  • 1 cup jawar flour
  • 1/4 cup wheat flour
  • warm water 
Method for Bhakri
  • With warm water make a soft dough using jowar and wheat flour. The dough needs to be a little softer than regular wheat flour dough. Knead the dough for 5-6 min to form a gluten. 
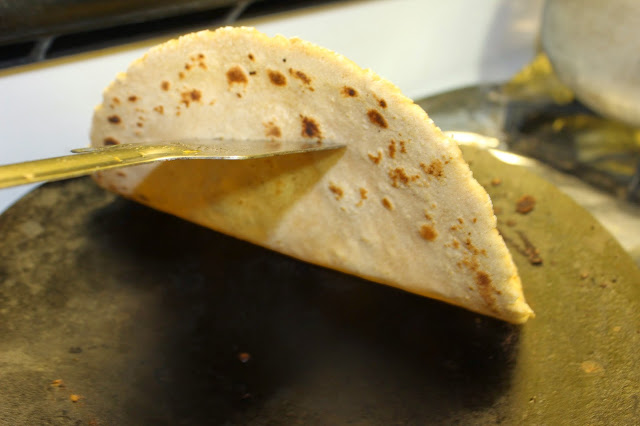
  • Roll it & put it on hot tava or griddle. Apply water on top side. When water evaporates flip the side. Cook till you get a golden brown edges. 
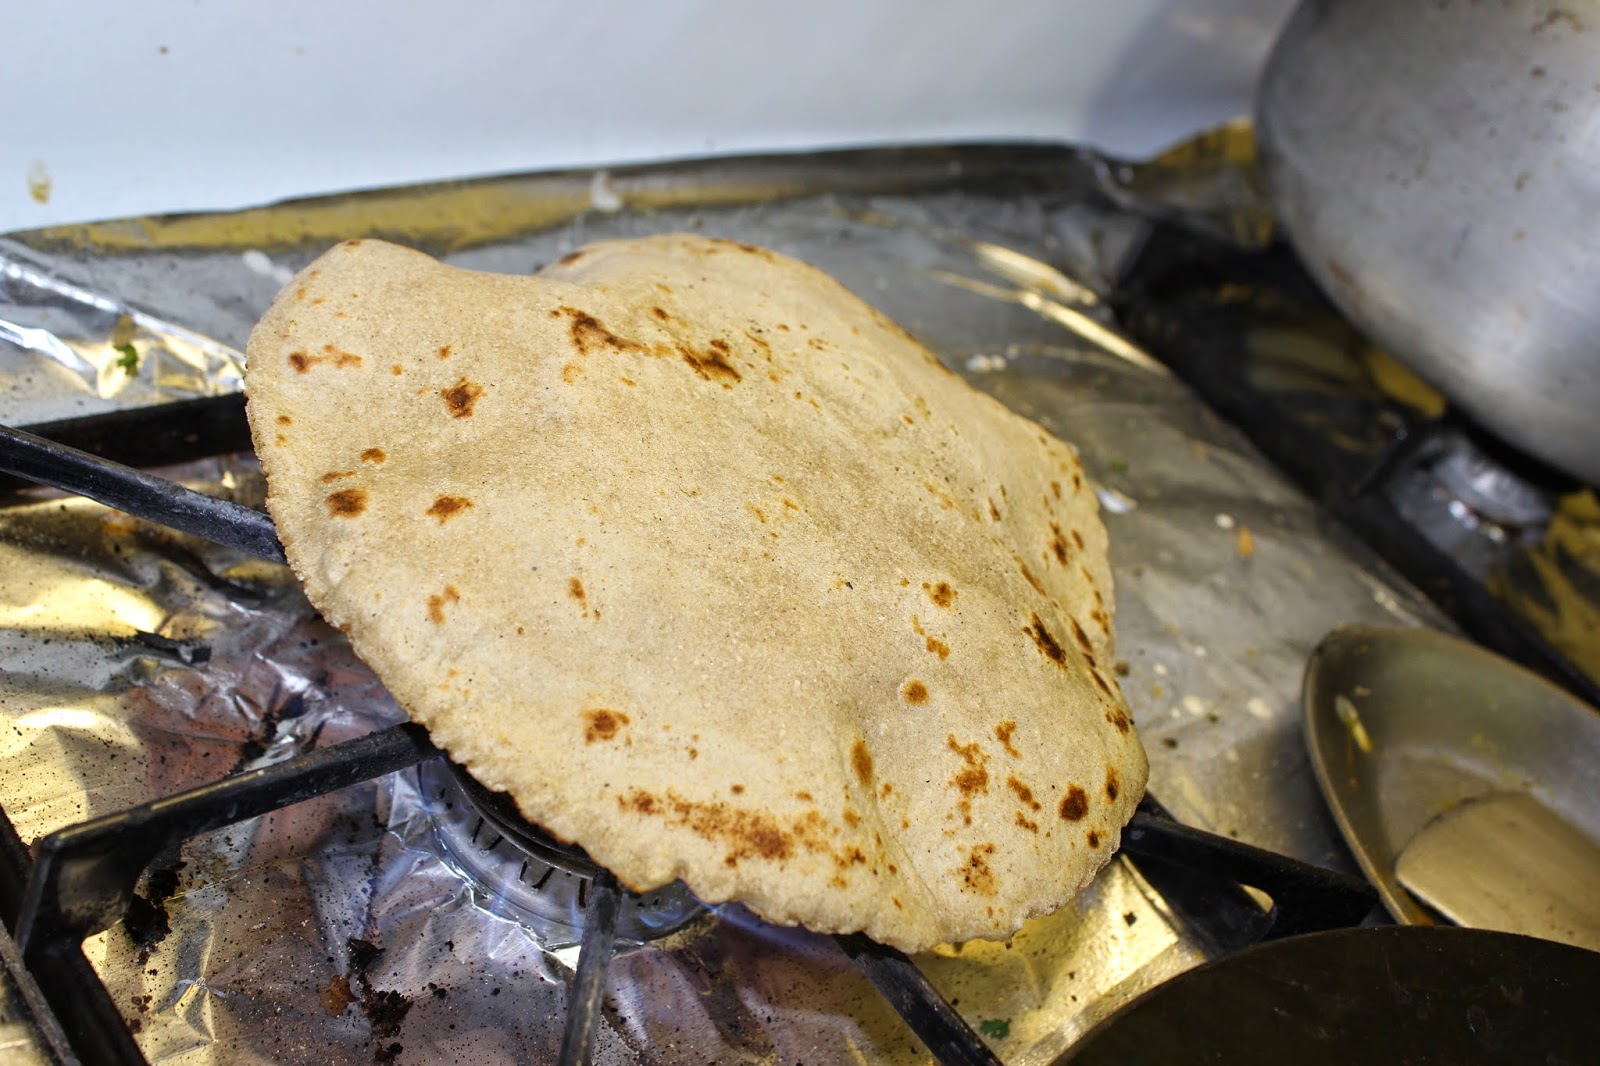
  • Transfer it on the flame, it will puff up. Apply clarified butter or ghee (optional). Serve hot.  
  • The traditionally jawar roti is made by hands, but I use rolling pin. 
  • Wheat flour is used to form a gluten because store bought jawar flour may not get kneaded very well & roti can crack.     

Pictorial 


Put rolled roti on hot tava, apply water on up side of roti


Once the water evaporates turn roti upside down


Once you get golden edges or dots on the back side too, flip it over on flame 


It will puff up :) 

Method for Jhunka
  • In a Kadai or vessel, heat oil. Once oil is heated, add 1/2 tsp mustard seeds & let it splutter.
  • Add hing. Now add garlic and let it golden brown. 
  • Now add onion mix it well & saute till onions are translucent. We don't want it to brown.    
  • Add dry masala to the cooked onions, give it a stir & add tomato. Mix it well, add spinach. Let it cook till the tomato is cooked. 
  • Now add boiling hot 1 1/2 cups water and bring it to boil. Keep it on simmer flame for boil for 2 min
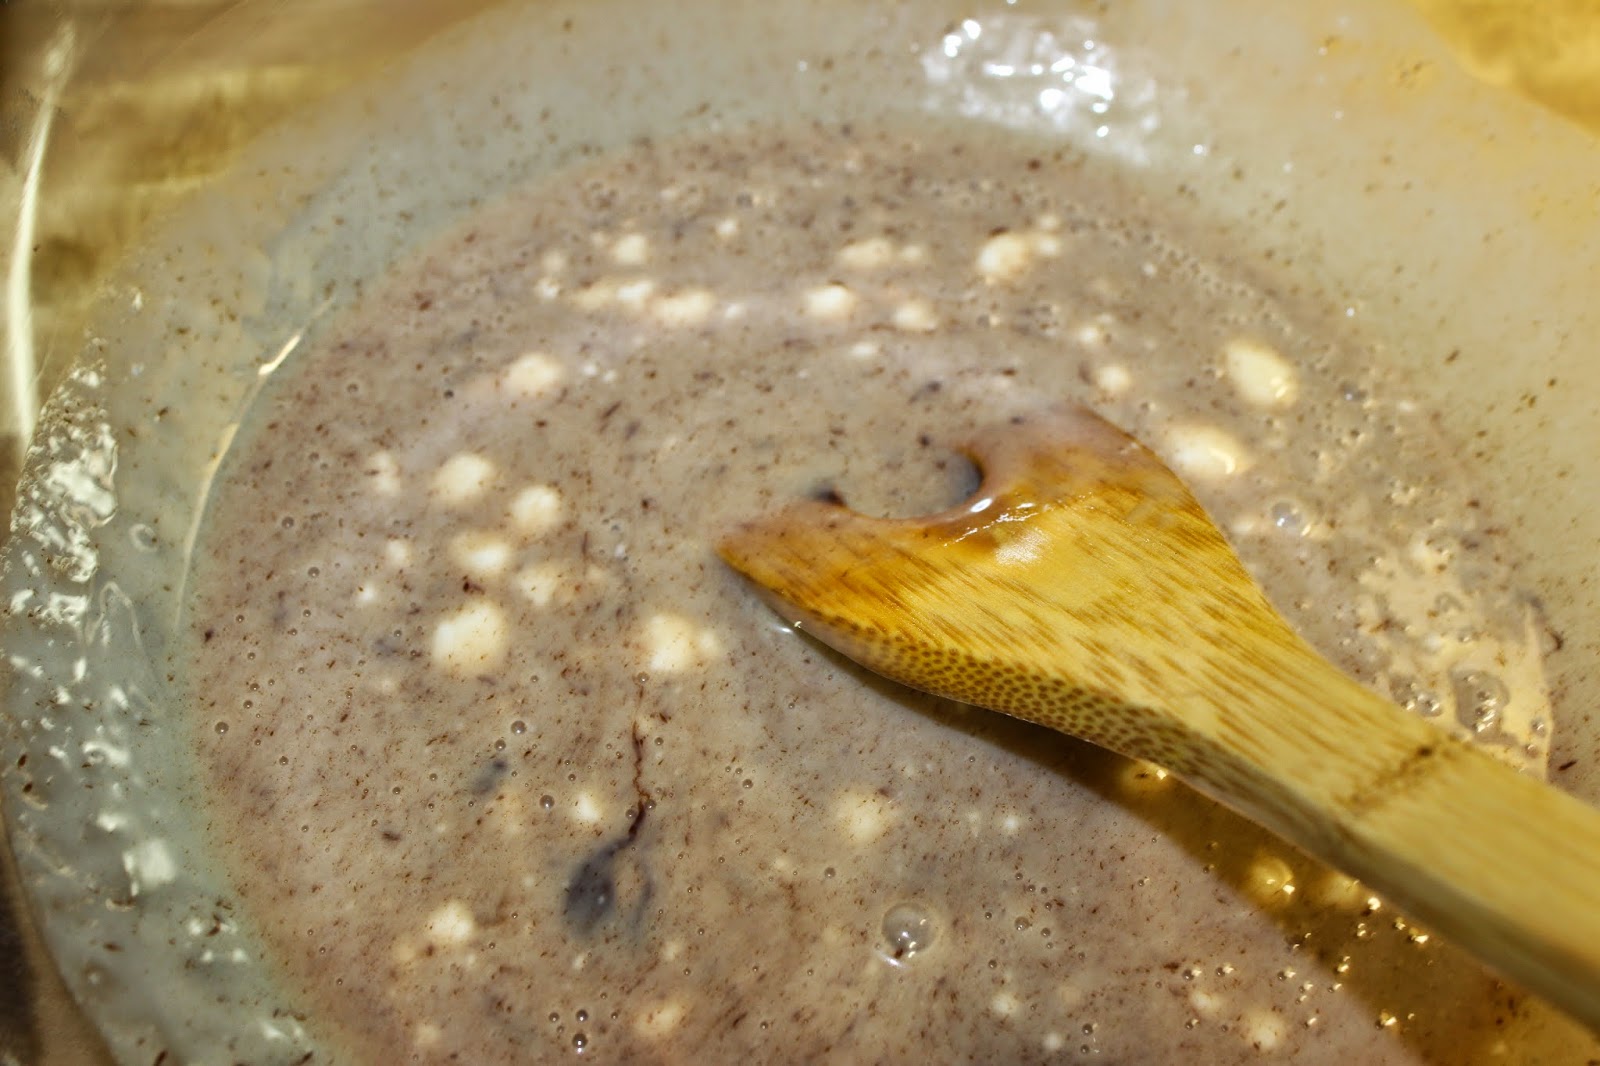
  • Meanwhile, in a bowl, mix 1 cup of chickpea flour and 1 cup of water to make a batter  
  • Now add this batter in boiling mixture. We really have to work fast here & keep mixing it well as we are adding it. Once everything it mixed together cover the vessel and let it cook on simmer flame for 7-8 min. 
Let's Start with the pictorial 


In a Kadai or vessel, heat oil. Once oil is heated, add 1/2 tsp mustard seeds & let it splutter


Add hing. Now add garlic and let it golden brown


Now add onion mix it well & saute till onions are translucent. We don't want it to brown


Add dry masala to the cooked onions, give it a stir & add tomatoes. Mix it well, add spinach. Let it cook till the tomatoes are cooked. 


Now add boiling hot 1 1/2 cups water and bring it to boil. Keep it on simmer flame for boil for 2 min


Meanwhile, in a bowl, mix 1 cup of chickpea flour and 1 cup of water to make a batter  


Now add this batter in boiling mixture. We really have to work fast here & keep mixing it well as we are adding it. Once everything it mixed together cover the vessel and let it cook on simmer flame for 7-8 min


After 8 min its ready to serve....Enjoy while its hot


Friday, May 15, 2015

Princess Ariel Made of Cucumber, Carrot & Strawberry


What's not to fantasize about this Disney character, she is my daughter's first love :) 

Ingredients
  • 1 cucumber, cut into half vertically & then in slices & one round slice for face
  • 2 cake sprinkles for eyes
  • 4 baby carrots, shredded for hair
  • 1 strawberry for the top, cut into circles & one for lips 
  • Cucumber skin, for tail & a few strips to form a body shape, arms. 


Thursday, May 14, 2015

Dodha Burfi - 8:30 min FLAT!!!


Dodha Burfi a traditional Indian dessert, needs no introduction!!!

There could be hardly anyone who doesn't like this sweet, but ya making it is an hours of dating with kadai in kitchen ;) which makes it a difficult task. Hence everyone prefers to have it store bought. But here is the GOOD NEWS....way too faster than buying it from the store with this easy peasy method. You can make this authentic sweet in flat 8:30 min, yeah you read it right.....8:30 min flat with just 5 basic ingredients!!!

Do I need to say anything more....nope, let's just get started!!!

Ingredients (makes 16 medium size pieces) 
  • 12 oz can of condensed milk
  • 1/4 cup plain yogurt / curd
  • 1 tbsp chocolate chips or 1 tsp cocoa powder
  • 1/4 cup almond - cut into small pieces
  • 1 tbsp clarified butter (Ghee) + for greasing plate
Method
  • In a big microwave proof bowl, add condensed milk + yogurt + chocolate chips. Mix well & microwave it for 2 min. (The chocolate chips is for brown color, it will not add a flavor) 
  • Take it out, at this stage it will appear more like liquid and that's fine, mix it will & microwave for another 2 min
  • Take out, mix it well, add 1 tbsp of ghee & microwave for another 2 min. 
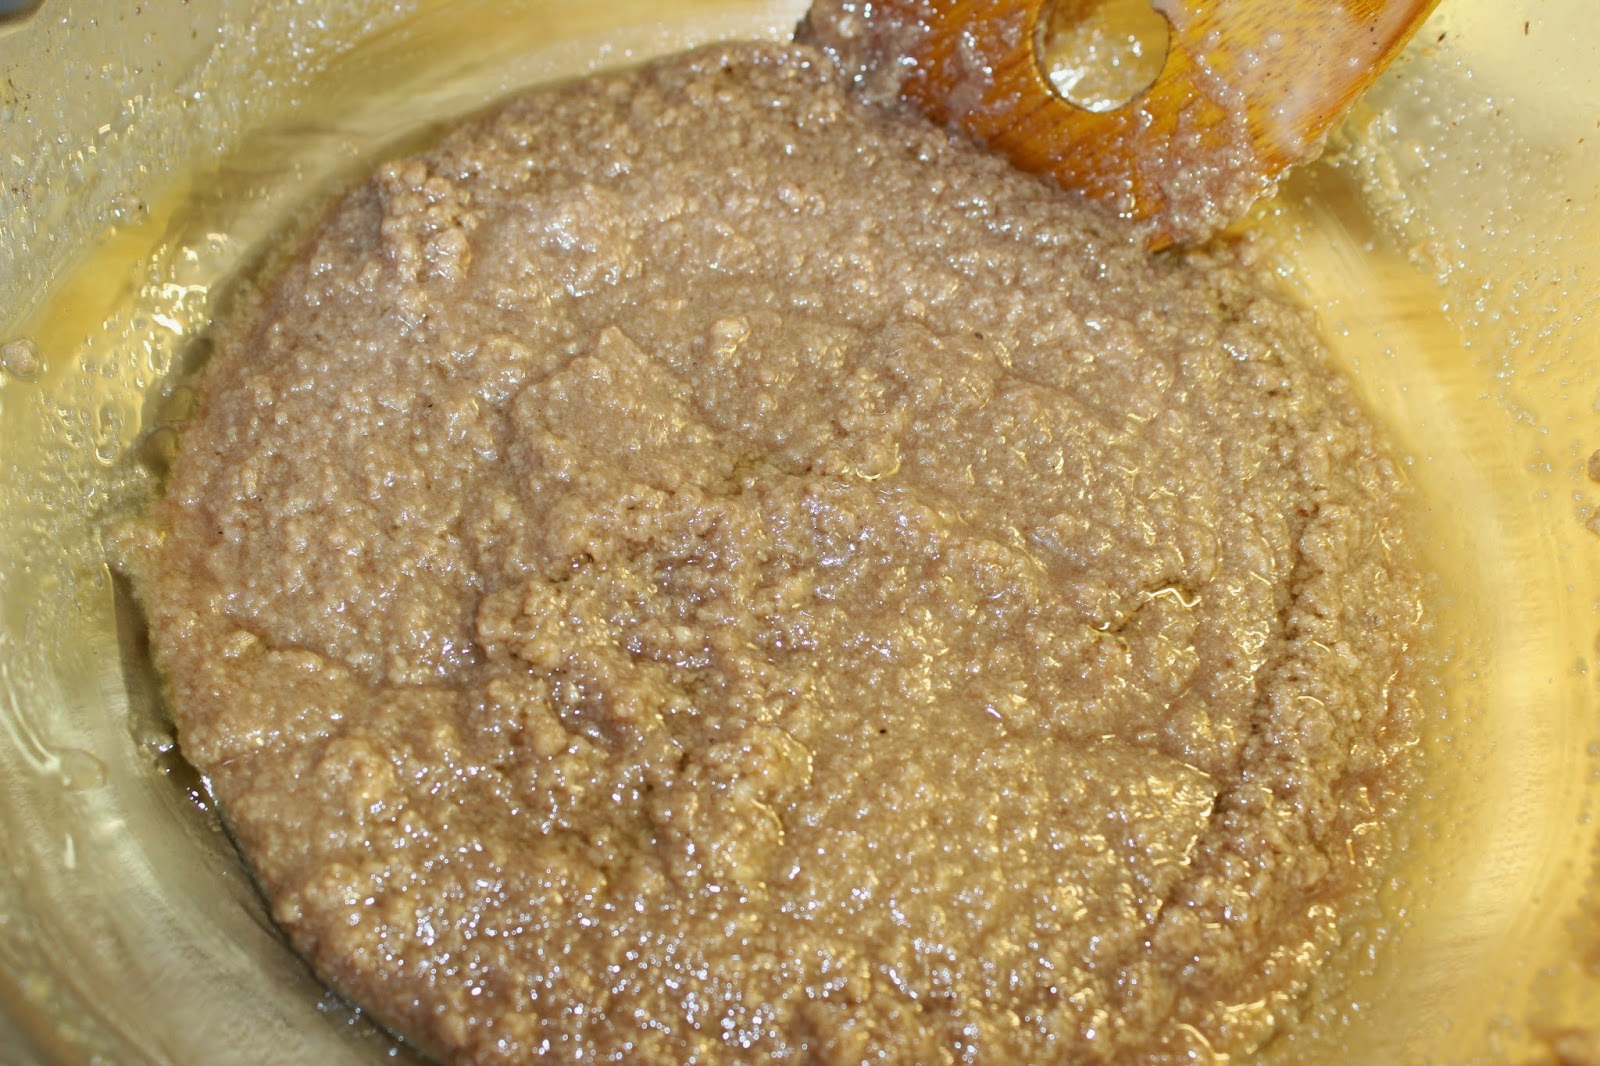
  • Take out, mix it well, at this stage it will appear quite dry and more like koya or mava, microwave for another 2 min.
  • Take out mix well, if there is no water in koya that means it's ready. In mine there was some water left so had to microwave it for another 30 sec. After done, add half of the almond mix well  Please note every microwave is different, so the time might vary. As koya mixture cools it will get thicken so please monitor the timing accordingly.  
  • Now transfer it on a greased plate or silicon mold or sheet, garnish with almonds. Let it cool off & cut into desired shape. 
Pictorial 

In a big microwave proof bowl, add condensed milk + yogurt + chocolate chips. Mix well & microwave it for 2 min. (The chocolate chips is for brown color, it will not add a flavor) 


Take it out, at this stage it will appear more like liquid and that's fine, mix it will & microwave for another 2 min


Take out, mix it well, add 1 tbsp of ghee & microwave for another 2 min. 


Take out, mix it well, at this stage it will appear quite dry and more like koya or mava, microwave for another 2 min.


Take out mix well, if there is no water in koya that means it's ready. In mine there was some water left so had to microwave it for another 30 sec. After done, add half of the almond mix well  Please note every microwave is different, so the time might vary.  


Now transfer it on a greased plate or silicon mold or sheet, garnish with almonds. Let it cool off & cut into desired shape


To make it fun serving I used a cake pop mold